Danyachi Chutney
Coarse and spicy dry peanut chutney, a staple in every Maharashtrian home.
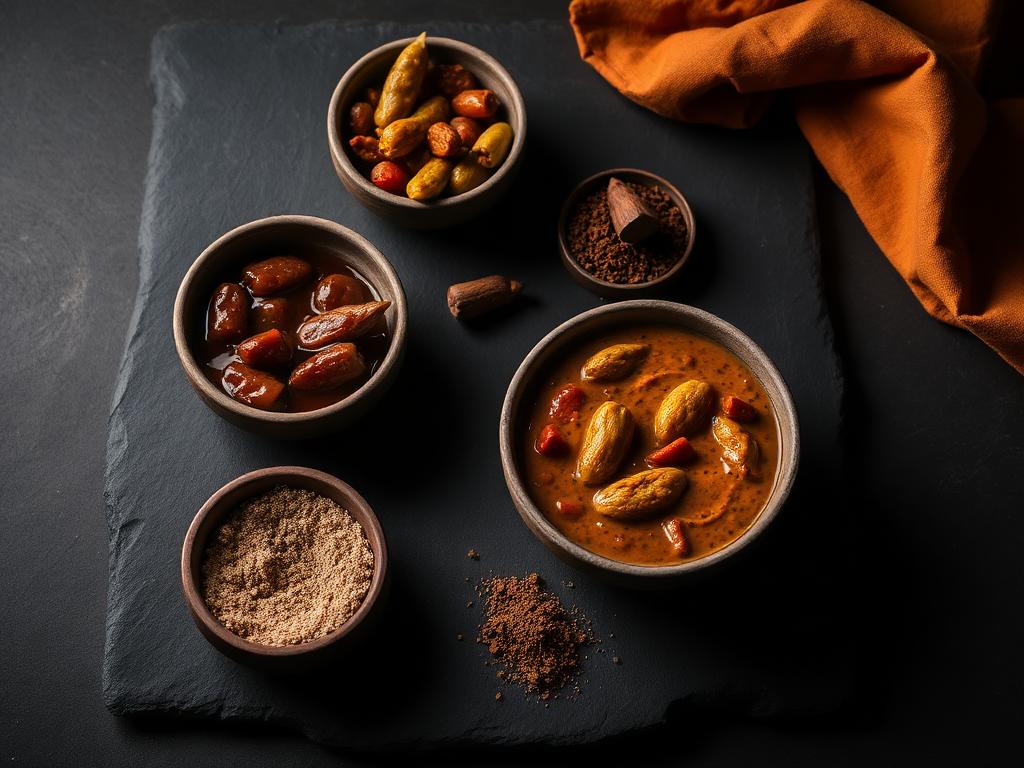
About this dish
Originating from the rural heartlands of Maharashtra, this chutney (often called 'Shengdana Chutney') is the ultimate pantry staple for every Mumbai household. It represents the dry, heat-resilient food culture of the Deccan plateau, providing a burst of protein and spice to simple meals. The texture must be coarse (tiptip) rather than a fine powder, ensuring a crunch that contrasts with soft bhakris.
Ingredients
Main Base
- 250g (1.5 cups) Raw peanuts with skin
- 15-20 Large cloves of garlic, unpeeled for extra aroma
- 2 tbsp Vegetable oil
Spice Blend
- 3 tbsp Kanda Lasun Masala or Kashmiri red chili powder
- 1 tsp Cumin seeds (jeera)
- 1/2 tsp Salt, or to taste
- 1/2 tsp Sugar, optional for balance
Method
- 1
Slow Roasting Peanuts
Place the raw peanuts in a heavy-bottomed cast iron kadhai over low-medium heat. Roast for 8-10 minutes, stirring constantly, until the skins darken and start to crackle. You are looking for a deep nutty aroma and internal browning without burning the outer skin.
- 2
Cooling and Deskinning
Transfer the roasted peanuts to a flat plate and let them cool completely for 5 minutes. Gently rub them between your palms to remove about 50% of the skins; keeping some skin adds a rustic texture and bitter-sweet depth to the final chutney.
- 3
Garlic Tempering
In the same pan, add 1 tablespoon of oil and toss in the unpeeled garlic cloves and cumin seeds. Sauté for 2-3 minutes until the garlic skin turns golden brown and the cumin is fragrant. This step removes the raw pungency of the garlic while retaining its oils.
- 4
Initial Pulse
Add the cooled peanuts and the sautéed garlic-cumin mixture into a heavy-duty mixer-grinder or a mortar and pestle. Pulse for just 2 seconds to break the peanuts into large chunks. Do not run the mixer continuously, or the peanuts will release oil and turn into butter.
- 5
Adding Spices
Add the red chili powder, salt, and sugar to the mixer. The sugar is a secret Mumbai trick to balance the high heat of the Kanda Lasun masala. Ensure the spices are dry; any moisture will ruin the shelf life of the chutney.
- 6
The Final Coarse Pulse
Pulse the mixture 3 to 4 more times in short bursts of 1 second each. Open the lid and stir with a spoon between pulses to ensure the garlic is evenly distributed. The final texture should be gritty, with visible small bits of peanuts and garlic.
- 7
Testing for Texture
Check if the mixture feels like coarse sand. If it feels too dry or powdery, add the remaining teaspoon of oil and pulse once more. The oil helps the spice powder cling to the peanut granules.
- 8
Cooling and Aeration
Spread the finished chutney on a wide plate to let it cool and air out for 15 minutes. This prevents moisture buildup from the residual heat of the grinding process, which can cause clumping.
- 9
Storage Prep
Once cooled, give the chutney a final mix with a dry spoon to break up any small clumps. The color should be a vibrant, rusty orange-red.
Notes & variations
- Store in an airtight glass jar at room temperature for up to 1 month.
- Use Kanda Lasun Masala for the most authentic Maharashtrian flavor profile.
- If using a mortar and pestle, crush the garlic first, then add peanuts for better control.
- Add a teaspoon of desiccated coconut during the roasting phase for a 'Ghati' style variation.
Serve with
Serve with hot Jowar Bhakri, a dollop of white butter, and a raw green chili.
Cook's note
Always roast on low heat; high heat burns the surface while leaving the inside raw, leading to a 'soft' chutney.