Dilli Refugee Chana Pulao
A hearty chickpea pilaf flavored with whole spices and green chilies.
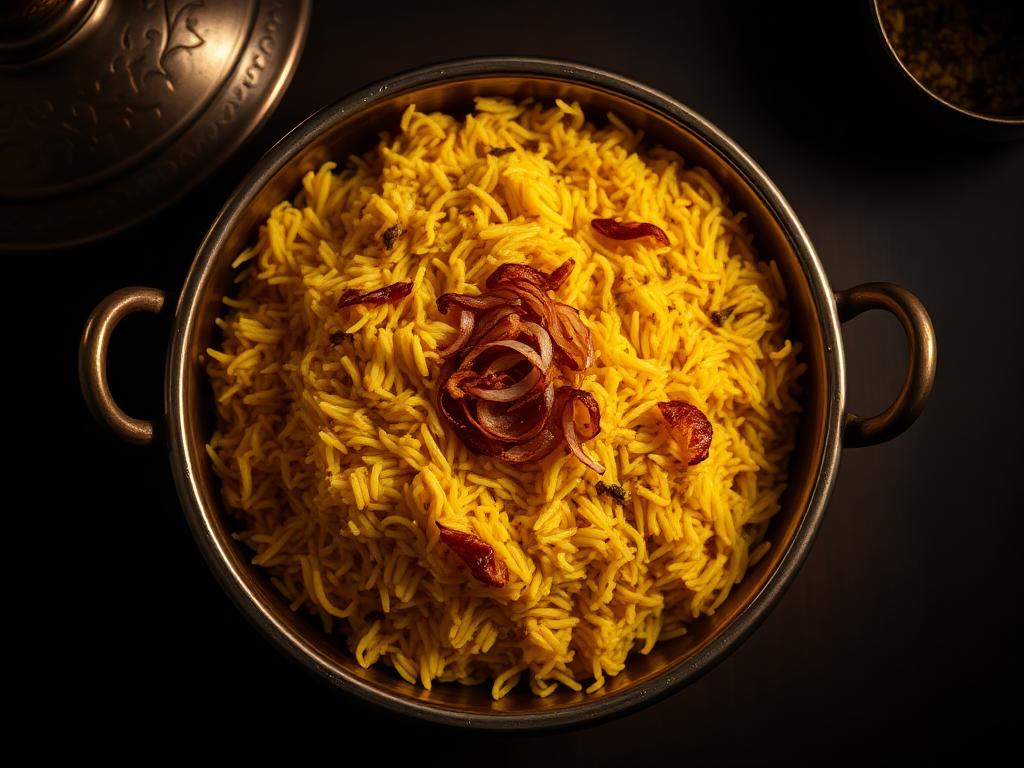
About this dish
This pulao is a legacy of the Punjabi communities that settled in Delhi post-partition. It is a 'no-nonsense' meal, characterized by its robust spice profile and the use of hearty chickpeas instead of expensive meats. Unlike a delicate Lucknowi biryani, this is a rustic, one-pot dish found in the homes of West Delhi, celebrated for its ability to feed large families with humble ingredients.
Ingredients
The Grains & Legumes
- 300g (1.5 cups) Long-grain Basmati rice, soaked for 30 mins
- 200g (1 cup) Chickpeas (Kabuli Chana), soaked overnight and boiled until 90% tender
- 600ml (3 cups) Water or chickpea cooking liquor
Whole Spices & Aromatics
- 2 medium onions, thinly sliced
- 1 tbsp Ginger-Garlic paste
- 2 green chilies, slit lengthwise
- 2 bay leaves
- 1 black cardamom
- 4 green cardamoms
- 1-inch cinnamon stick
- 1/2 tsp cumin seeds
The Flavorings
- 80g (1/3 cup) thick yogurt, whisked
- 1 tsp garam masala
- 1/2 tsp red chili powder
- 3 tbsp vegetable oil or ghee
- Salt to taste
- Fresh coriander for garnish
Method
- 1
Temper the spices
Heat oil or ghee in a heavy-bottomed pot (handi). Add the cumin seeds, bay leaves, cinnamon, and cardamoms. Fry for 30 seconds until the spices swell and the oil becomes fragrant.
- 2
Caramelize the onions
Add the sliced onions to the pot. Sauté on medium heat for 8-10 minutes until they reach a deep golden brown. This 'biryani-style' browning of onions provides the characteristic color and sweetness to the pulao.
- 3
Aromatic base
Stir in the ginger-garlic paste and slit green chilies. Cook for another 2 minutes until the raw smell of garlic disappears. If the mixture sticks, add a splash of water.
- 4
Incorporate the chana
Add the boiled chickpeas, red chili powder, and salt. Sauté the chickpeas with the aromatics for 3-4 minutes so they absorb the flavors of the tempered oil.
- 5
The Yogurt Seal
Lower the heat and whisk in the yogurt. Stir continuously to prevent curdling. Once the oil starts separating from the yogurt-spice mixture, add the garam masala.
- 6
Add the rice
Drain the soaked rice and add it to the pot. Very gently toss the rice with the chickpeas for 1 minute, ensuring the grains are coated in fat. Be careful not to break the fragile soaked grains.
- 7
Liquid and Simmer
Pour in the water (or the reserved water from boiling the chickpeas for extra flavor). Bring to a rolling boil. Taste the water; it should be 'sea-salt' salty to ensure the rice is seasoned correctly.
- 8
The Dum stage
Once the water reduces to the level of the rice, cover the pot with a tight-fitting lid (or seal with foil). Turn the heat to the lowest possible setting and cook for 12-15 minutes.
- 9
Resting and Fluffing
Turn off the heat and let the pulao sit undisturbed for 10 minutes. This allows the steam to redistribute. Open the lid and fluff the rice gently with a fork from the edges toward the center.
Notes & variations
- Using the water used to boil the chickpeas adds a deep earthy flavor and a darker tint to the rice.
- You can add a few drops of kewra water at the end for a more festive 'Delhi' aroma.
- For a quicker version, use canned chickpeas, but rinse them thoroughly to remove the metallic taste.
- Leftovers reheat beautifully and the flavors often intensify the next day.
Serve with
Serve with a bowl of cooling boondi raita and spicy mango pickle.
Cook's note
The secret to non-sticky pulao is to not stir the rice at all once the lid is closed for the 'dum' stage.